Make Your Own Personalized Sketch Pads!
Part 1 - Gathering the Materials
Here is a list of the materials you'll need:
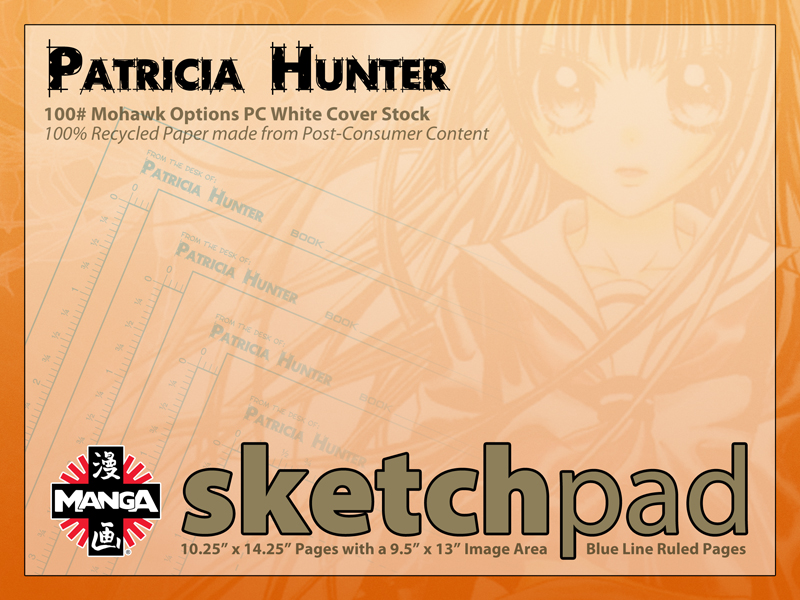
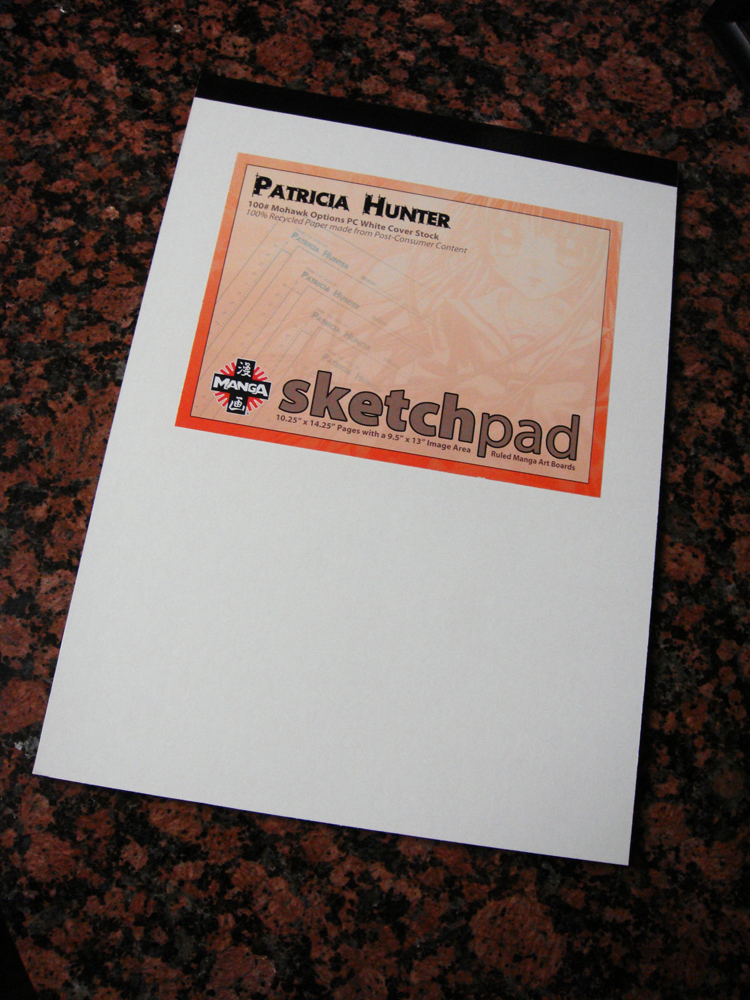
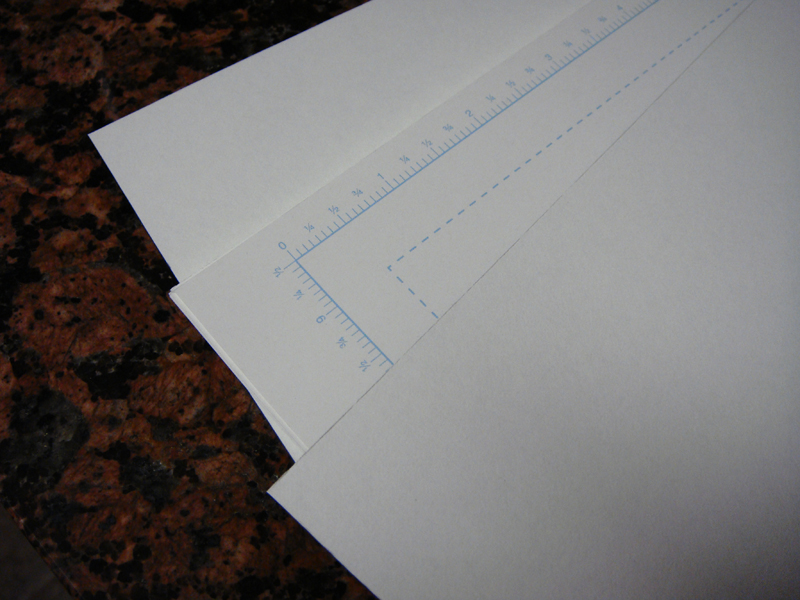
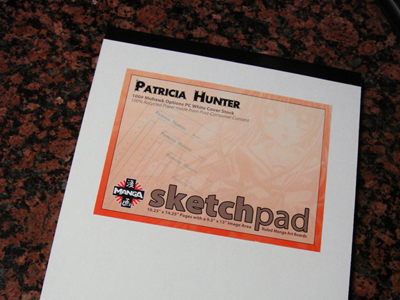
- Drawing Paper: Whatever type of paper you Like to draw on. I prefer Mohawk papers and for this example I used
100# Mohawk Options PC White Cover Stock,
it's 100% Recycled Paper made from Post-Consumer Content.

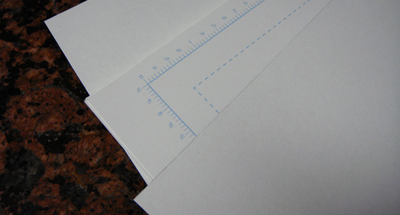
I used this paper because I can order it locally and have a customized template with guides that I created preprinted on it in non-reprographic blue ink.
Another fine paper made by Mohawk is Strathmore, which includes the Strathmore Bristol pads used by a lot of artists including me. I will sometimes cut the larger pads up into smaller pads and rebind them.

- Cardboard or Matboard: Used for the front and back covers. I used some scrap pieces of matboard that I had lying around.
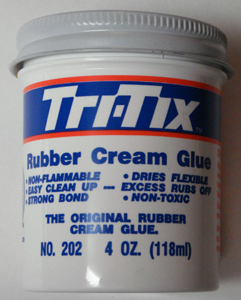
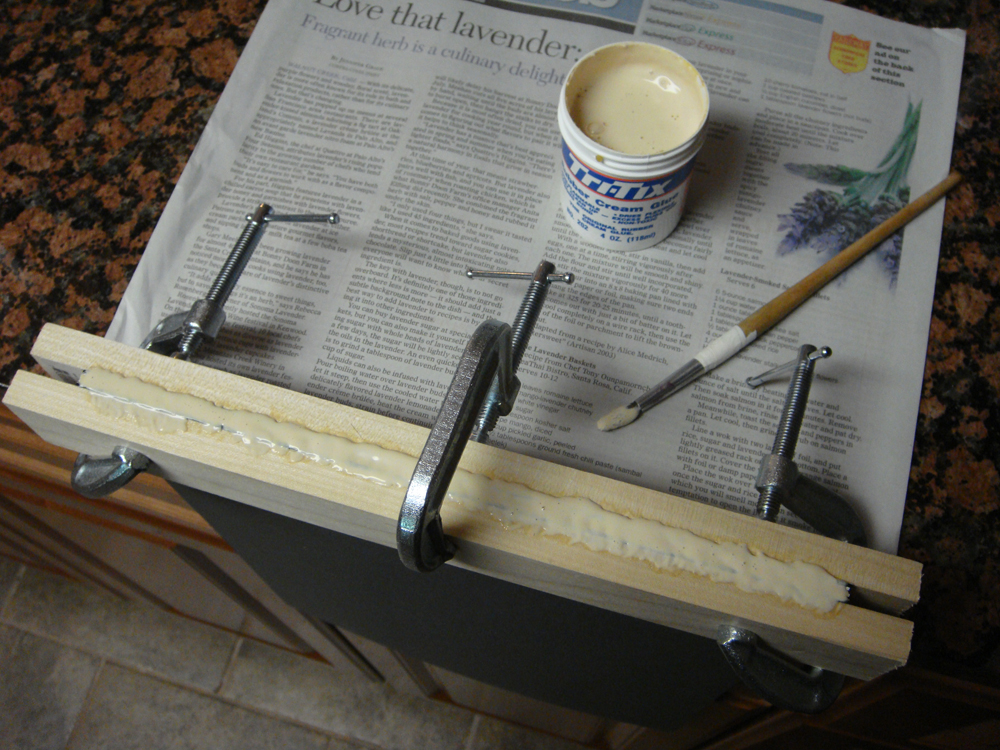
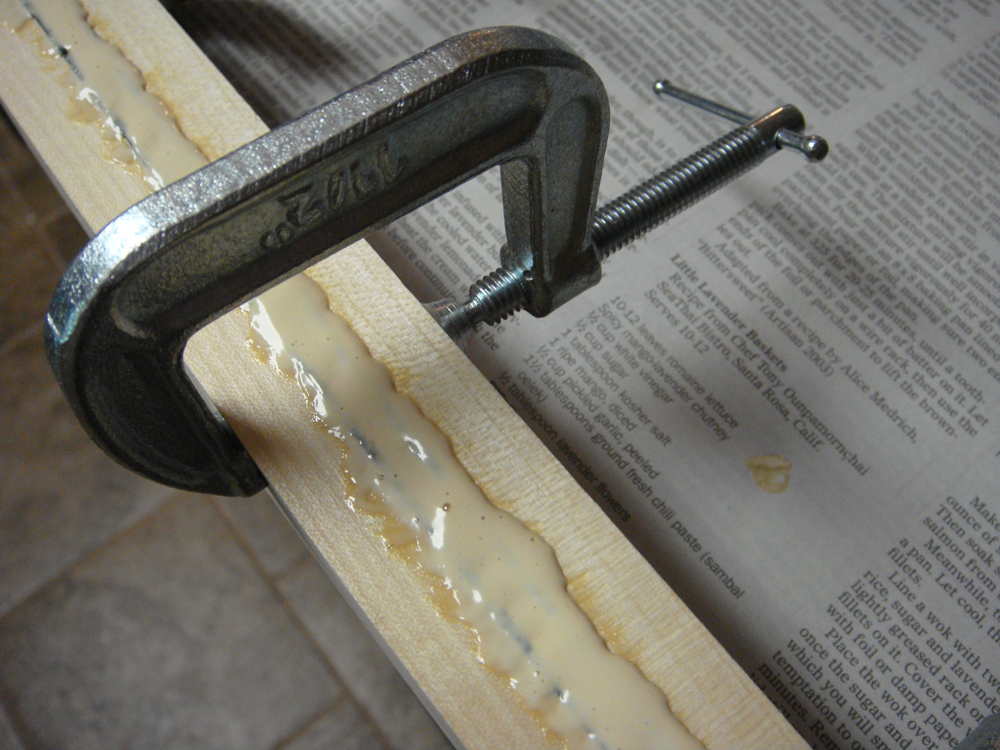
- Padding Glue: I use Tri-Tix brand Rubber Cream Glue. But any rubber padding type of glue that dries flexible will work. I have no idea where to buy this stuff, I got mine from a friend who worked for a local printing company.
- Old Brush: Find the worst or cheapest brush you have because it'll be worthless after using it with the glue.

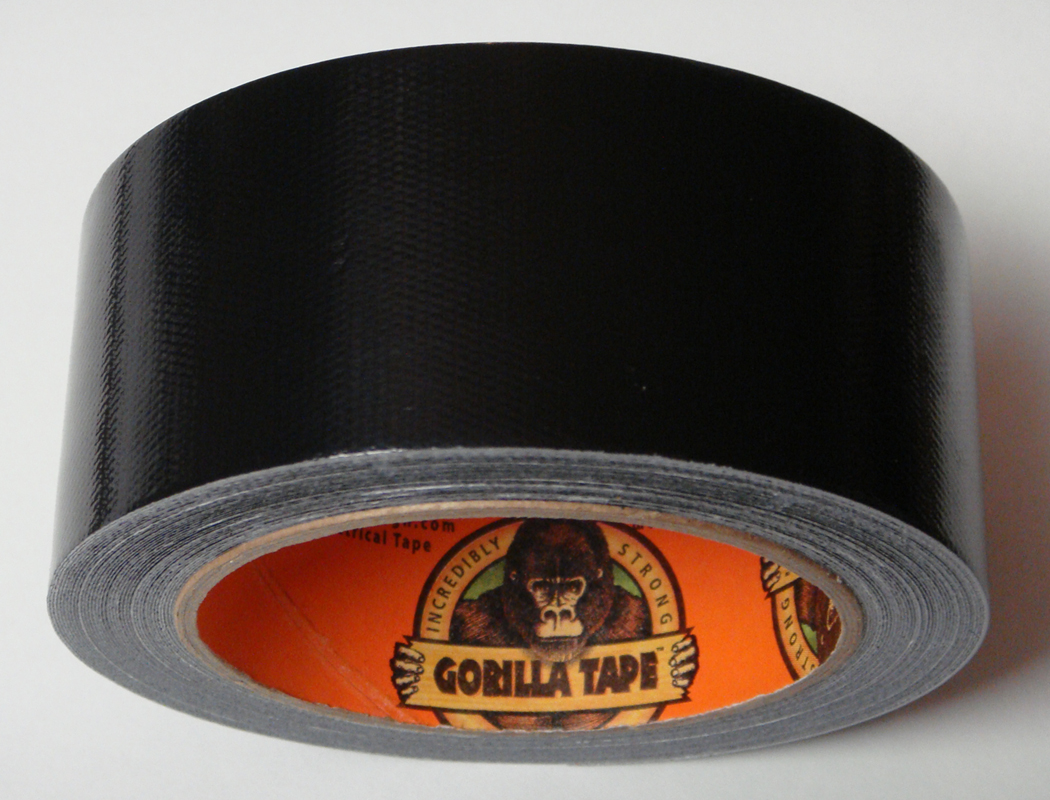
- Binding Tape: Used to cover the glued edge and give the books a finished look. I wanted some strong durable tape so I purchased some black Gorilla Tape.

- X-Acto Knife: Used for trimming/cleaning up the dried glue and cutting the tape.

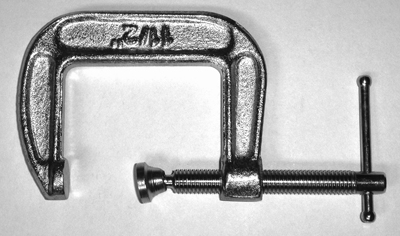
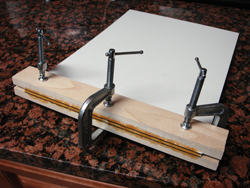
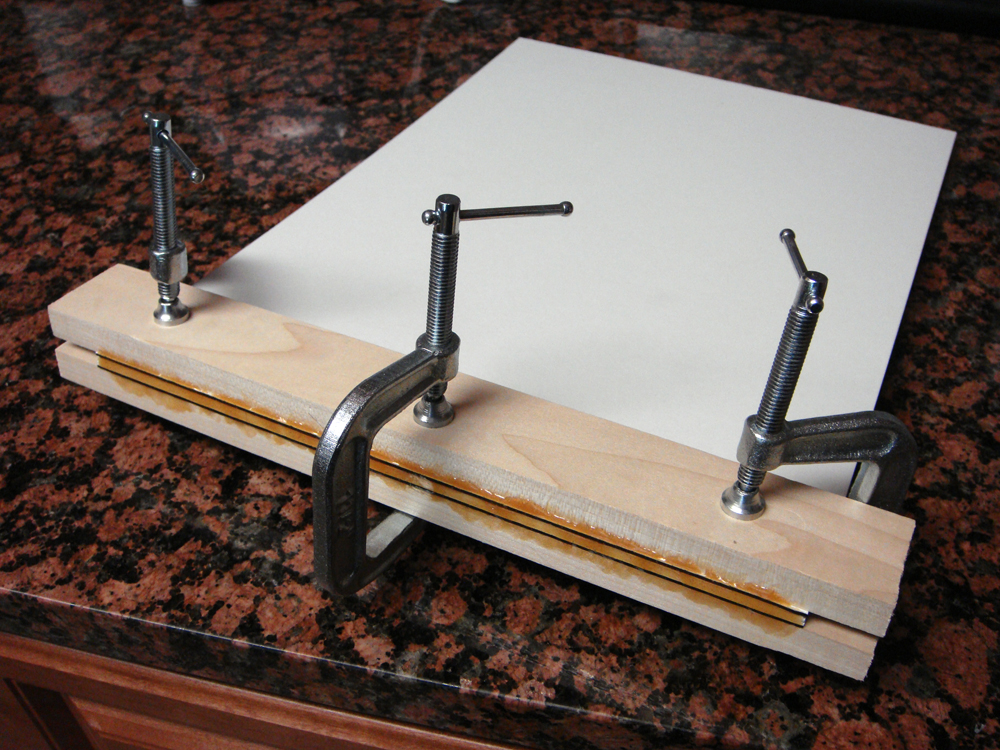
- C-Clamps: Used for holding the everything tightly in place. I used three small 1.5" c-clamps.
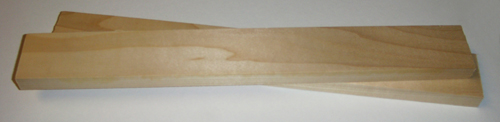
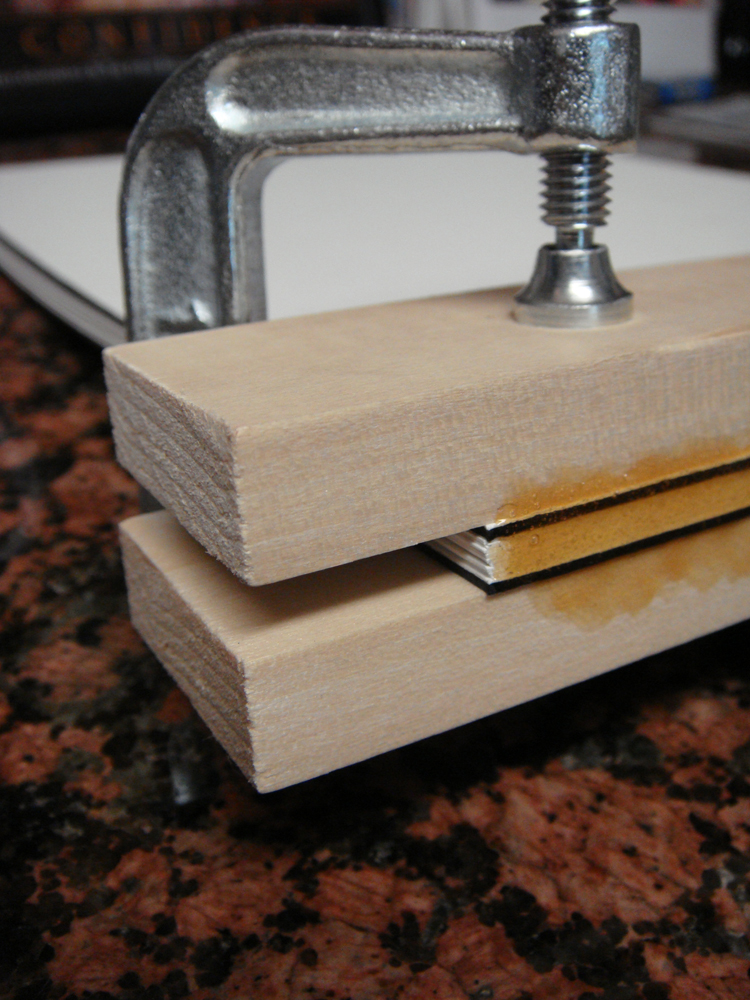
- Wood Blocks: Used for evenly holding the paper and covers together. I purchased a 1/2" x 2" x 24" piece of wood from my local hardware store and then cut in half for two 12" inch blocks.


Part 2 - Putting it all Together
Here's a quick step-by-step guide to assembling your sketch pads.
- The first thing you'll need to do is clamp the paper and covers tightly together with the wood blocks using your c-clamps. Make sure all of your paper, the covers and the wood blocks are flush with each other. Tighten the clamps as tight as you can so the bound edge will be nice and even. I put one clamp on each end and one in the middle for good measure.

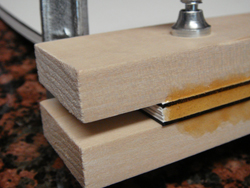
- Use your brush and apply the glue. You may need to apply several coatings to make sure you have a nice strong binding, you don't want pages falling out of your sketch pad after you're done.


- Wait for the glue to dry completely. This could take quite some time, so go draw something!
- After the glue is completely dried remove the clamps and use your X-Acto knife to gently trim the blocks away from the covers and to clean up any excess glue. At this point you should be able to flip through your sketch pad just like any store purchased one.

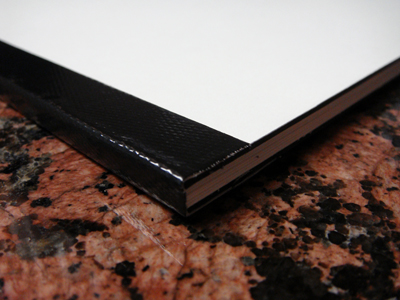
- To finish the binding process off use your tape to cover the glued edge by placing it evenly across the front and back covers.


Part 3 - The Finishing Touches
Now to really personalize your sketch pad.
- Create a logo for yourself and some artwork to go on the front cover.

- Print it out, crop it and adhere it to the front of your sketch pad.
- Congratulations! You now have your very own personalized homemade sketch pad! Be the envy of all your peers! Or just a really big geek, like me. :)